> For the complete documentation index, see [llms.txt](https://docs.patchmypc.com/llms.txt). Markdown versions of documentation pages are available by appending `.md` to page URLs; this page is available as [Markdown](https://docs.patchmypc.com/patch-my-pc-cloud/manage/settings/connections/add-connection.md).
# Add a Connection in Patch My PC Cloud
*Applies to: Patch My PC Cloud and Publisher*
From the **Connections** page of the Patch My PC (PMPC) Cloud Portal, you can add the following connections:
* [Connection to Intune](#add-an-intune-connection)
* [Connection to Publisher](#add-a-publisher-connection)
## Add an Intune Connection
To add an Intune connection:
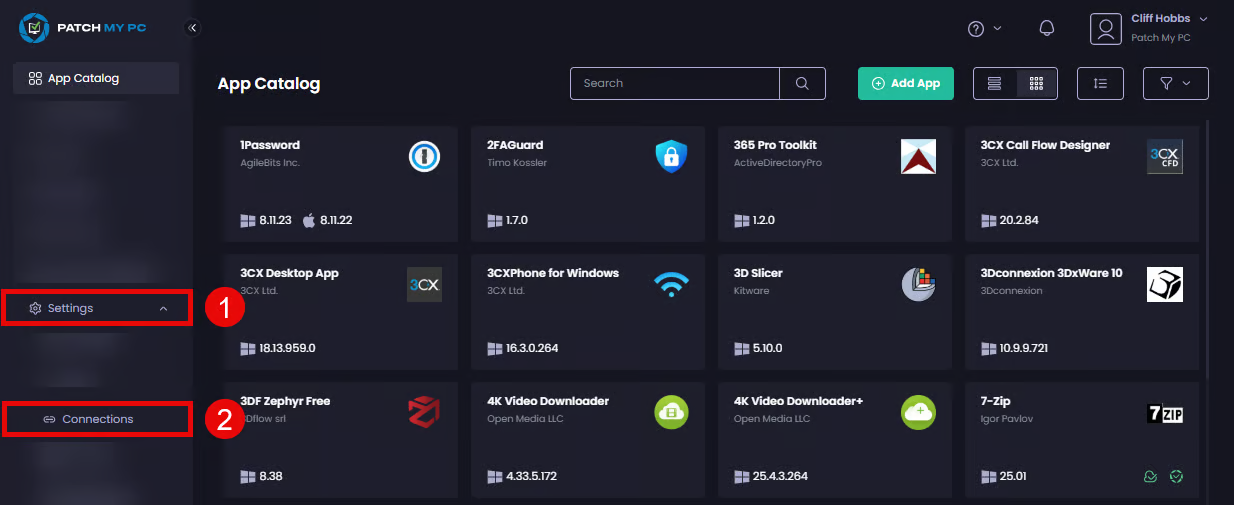
1. Navigate to **Settings | Connections**
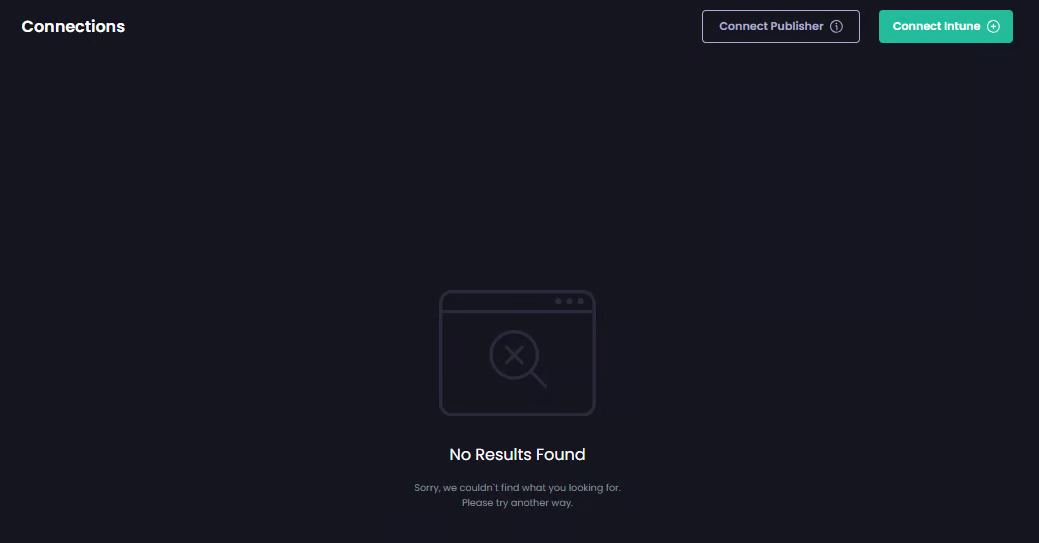
The **Connections** page is displayed showing any existing connections
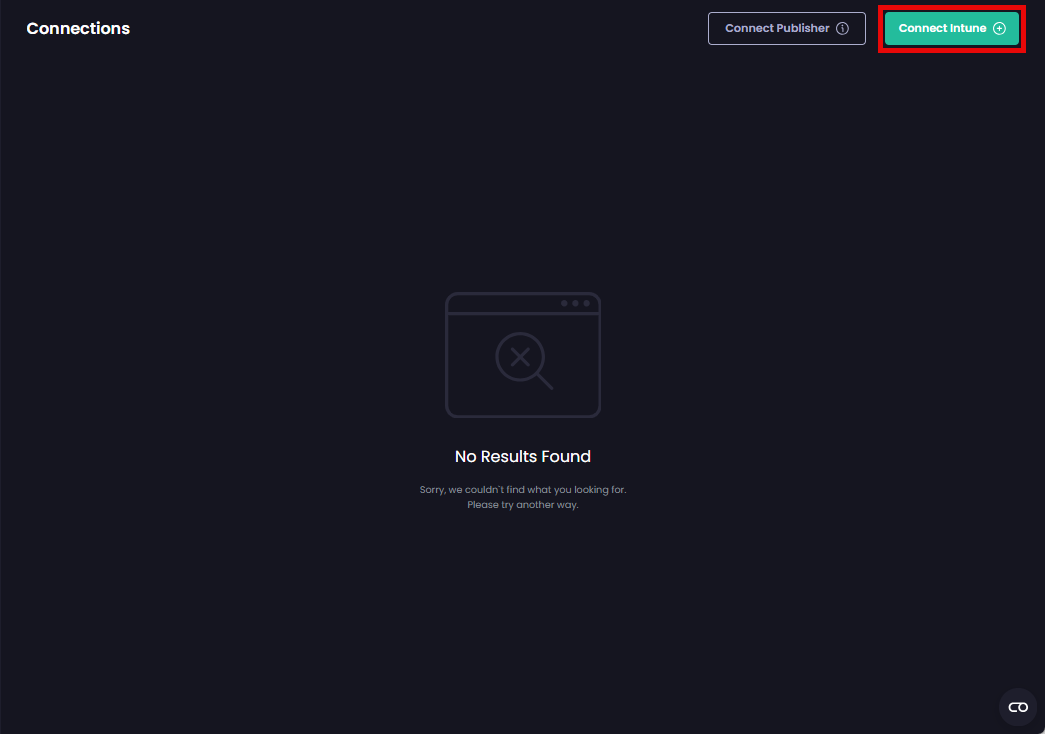
2. Click **Connect Intune**
3. Enter the Entra ID you used to onboard to PMPC Cloud or click to select the relevant account from the list of already signed-in accounts. Then click **Next**.
4. Enter the password and click **Sign in**.
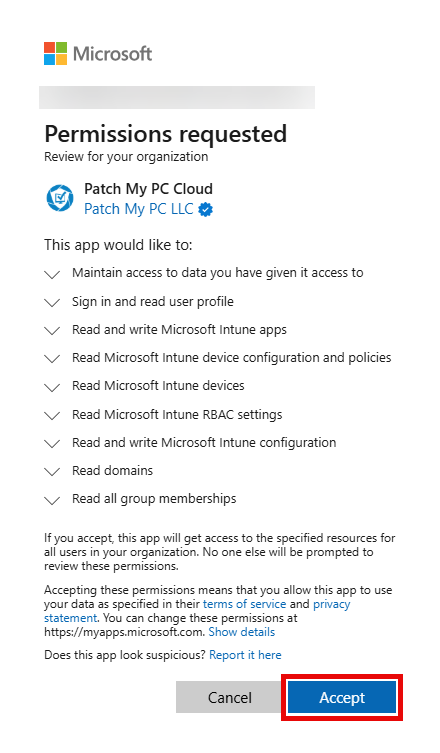
5. On the **Permissions requested** screen, click **Accept**.
{% hint style="info" %}
**Note**
To connect with Intune, the signed-in user must have the **Cloud Application Administrator** or the **Application Administrator** role to allow creation of the Enterprise app, and the **Privileged Role Administrator** role to approve the Graph API permissions we require. A **Global Administrator** can also perform both steps.
See [Permissions required for the Intune Apps](https://docs.patchmypc.com/patch-my-pc-cloud/cloud-reference/cloud-permissions-reference/permissions-required-for-intune-apps) for more details.
{% endhint %}
{% hint style="success" %}
**Tip**
You can click the down arrow beside each permission to get more information.
{% endhint %}
The **Connections** page is redisplayed, showing the newly added Intune connection.
## Add a Publisher Connection
Adding a connection between our on-premises Publisher and PMPC Cloud is done from Publisher.
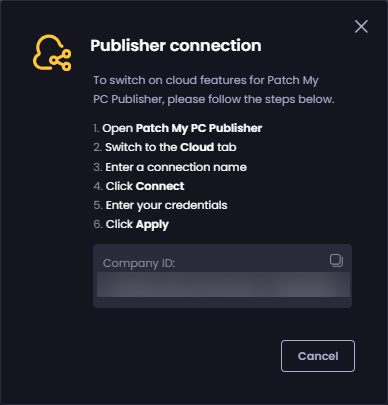
If you click **Connect Publisher** on the **Connections** page of the Cloud Portal, you will see the **Publisher connection** screen, which outlines the process explained in detail below.
To connect our on-premises Publisher to PMPC Cloud, you need to:
1. Load the **Patch My PC Publishing Service** (Publisher) and verify you are running at least version 2.1.20.0. If you are not, upgrade to the latest version.
2. Click the **Cloud** tab.
3. On the **Cloud** tab, check the **Enable cloud connection** checkbox.
4. In the **Connection Name** field, enter a unique name for the connection. For example, **Patch My PC Publisher Intune Connector**, then click **Connect**.
{% hint style="info" %}
**Note**
The name you enter here determines how this connection shows on the **Connections** page of the Cloud Portal.
{% endhint %}
4. In your browser, enter the Entra ID you used to onboard to PMPC Cloud or click to select the relevant account from the list of already signed-in accounts. Then click **Next**.
5. Enter the password and click **Sign in**.
If the connection is successful, a new browser tab opens with the following message:
**Authentication complete. You can return to the application. Feel free to close this browser tab.**
You can close this tab at this point.
6. If the **Select a customer for cloud connection** screen is not displayed, proceed to Step 8.
7. If the **Select a customer for cloud connection** screen is displayed, click to select the customer you want to connect to, then click **OK**.
8. In Publisher, verify the **Connection Status** shows as **Connected**
{% hint style="info" %}
**Note**
You don't need to click **Apply** or **Save and Close** in Publisher at this point, as the connection process automatically saves the details in Publisher.
{% endhint %}
The new Publisher connection will be shown on the **Connections** page of the Cloud Portal.
{% hint style="info" %}
**Note**
You can also use the [View Connections](/patch-my-pc-cloud/manage/settings/connections/view-connections.md) process to verify that your Publisher is connected to the portal.
{% endhint %}
---
# Agent Instructions
This documentation is published with GitBook. GitBook is the documentation platform designed so that both humans and AI agents can read, navigate, and reason over technical content effectively. Learn more at gitbook.com.
## Querying This Documentation
If you need additional information that is not directly available in this page, you can query the documentation by asking a question.
Perform an HTTP GET request on the following URL with the `ask` and `goal` query parameters:
```
GET https://docs.patchmypc.com/patch-my-pc-cloud/manage/settings/connections/add-connection.md?ask=&goal=
```
`ask` is the immediate question: it should be specific, self-contained, and written in natural language.
`goal` is what the user is ultimately trying to achieve, the reason they need the answer. Sharing it helps GitBook give you a better, more relevant answer. A goal is most helpful when it describes the outcome the user wants rather than restating the question. For example, with `ask=how do I create an API token`, a goal like `automate deployments from our CI pipeline` lets GitBook tailor the answer to that use case.
The response will contain a direct answer to the question and relevant excerpts and sources from the documentation.
Use this mechanism when the answer is not explicitly present in the current page, you need clarification or additional context, or you want to retrieve related documentation sections.