> For the complete documentation index, see [llms.txt](https://docs.patchmypc.com/llms.txt). Markdown versions of documentation pages are available by appending `.md` to page URLs; this page is available as [Markdown](https://docs.patchmypc.com/patch-my-pc-cloud/deployments/deploy-app/configurations-tab/standard-tools/return-codes.md).
# Configure Return Codes in a Patch My PC Cloud Deployment
*Applies to: Patch My PC Cloud*
The **Return Codes** tool of the Patch My PC (PMPC) Cloud deployment wizard allows you to configure *Return Codes* for a deployment (a *Return Code* is a numerical code an app typically logs and reports once it has completed running its installer).
You can manage Return Codes from within the properties of a:
* Deployment
* Custom App
{% hint style="info" %}
**Note**
See the [Configuration ](/patch-my-pc-cloud/custom-apps/create-a-custom-app/custom-apps-configuration-tab.md)section of [Create a Custom App](/patch-my-pc-cloud/custom-apps/create-a-custom-app.md) for details on how to configure Return Codes within the properties of a Custom App.
Also, macOS apps also do not support Return Codes.
{% endhint %}
To manage Return Codes for a Deployment:
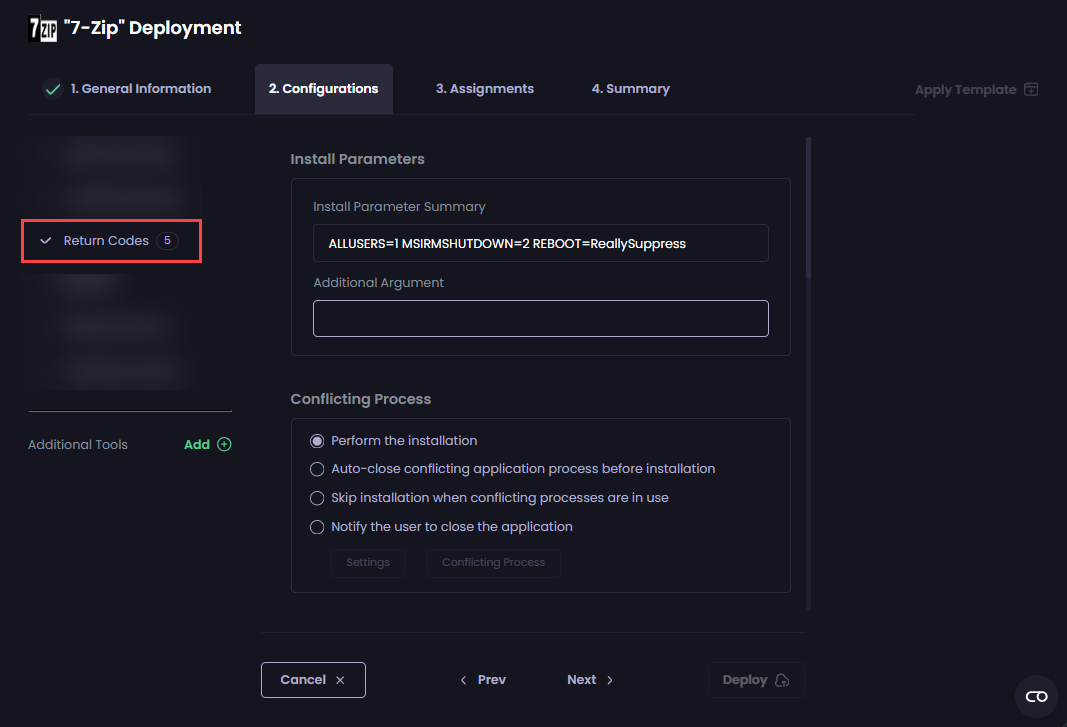
1. Click the **Return Codes** tool.
{% hint style="info" %}
**Note**
The number beside the **Return Codes** tool shows the number of return codes currently configured for the app being deployed.
{% endhint %}
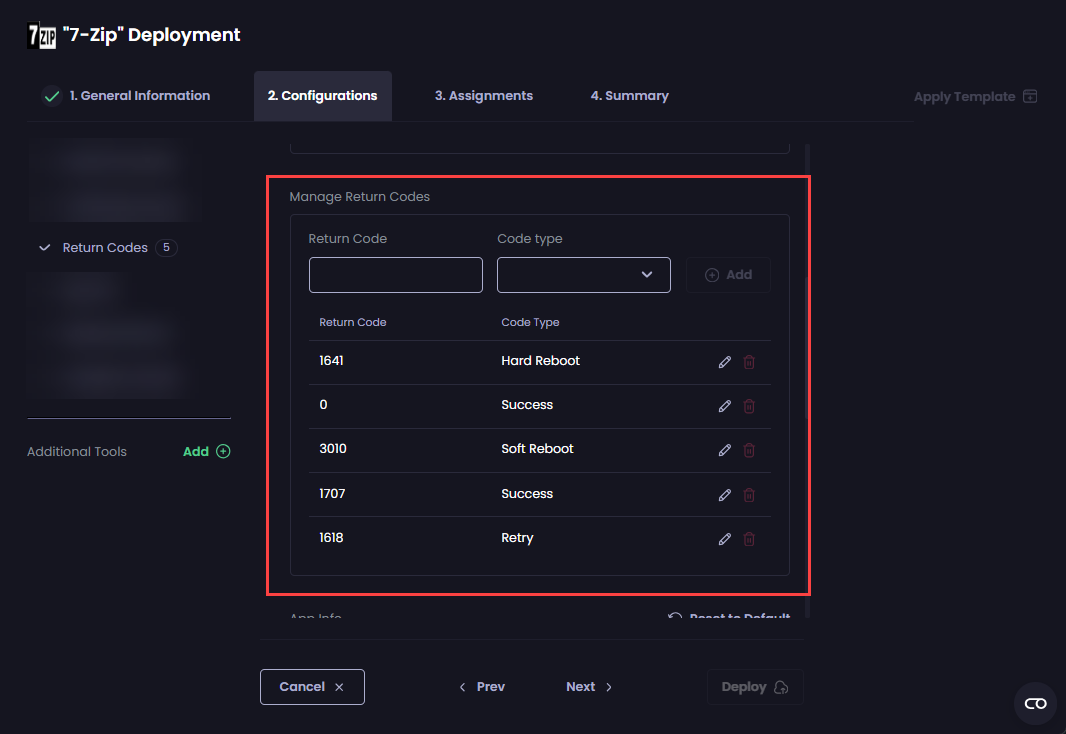
The default Return Codes defined for the app are shown, plus any defined for the app if this is a Custom App.
{% hint style="info" %}
**Note**
If a vendor supplies a list of Return Codes for their app, we include it. If they don’t, we automatically populate the list of Return Codes with industry-standard codes.
{% endhint %}
3. If you do not want to add a new Return Code, proceed to Step 5.
4. To add a new Return Code for this deployment, enter the numerical value in the **Return Code** field, select its meaning from the **Code type** dropdown, then click **Add**.
The new Return Code is added to the list.
5. If you do not want to edit a Return Code, go to Step 9.
6. To edit a Return Code, click the pencil icon beside it.
7. Make any required changes.
8. Click the green tick to save your changes.
The **Code type** field is updated.
9. To delete a Return Code, click the red trash can beside the relevant code.
{% hint style="info" %}
**Note**
You cannot delete either the default Return Codes for a deployment or any that have been added as part of the Custom App’s configuration. However, you can edit them.
If you add a Return Code to a deployment, you will be able to edit or delete it from the deployment if required.
{% endhint %}
{% hint style="danger" %}
**Important**
If the Return Codes you define in a deployment differ/conflict with those defined for a Custom App, the Return Codes defined on the deployment take precedence.
{% endhint %}
The code is deleted from the list.
## Next Steps
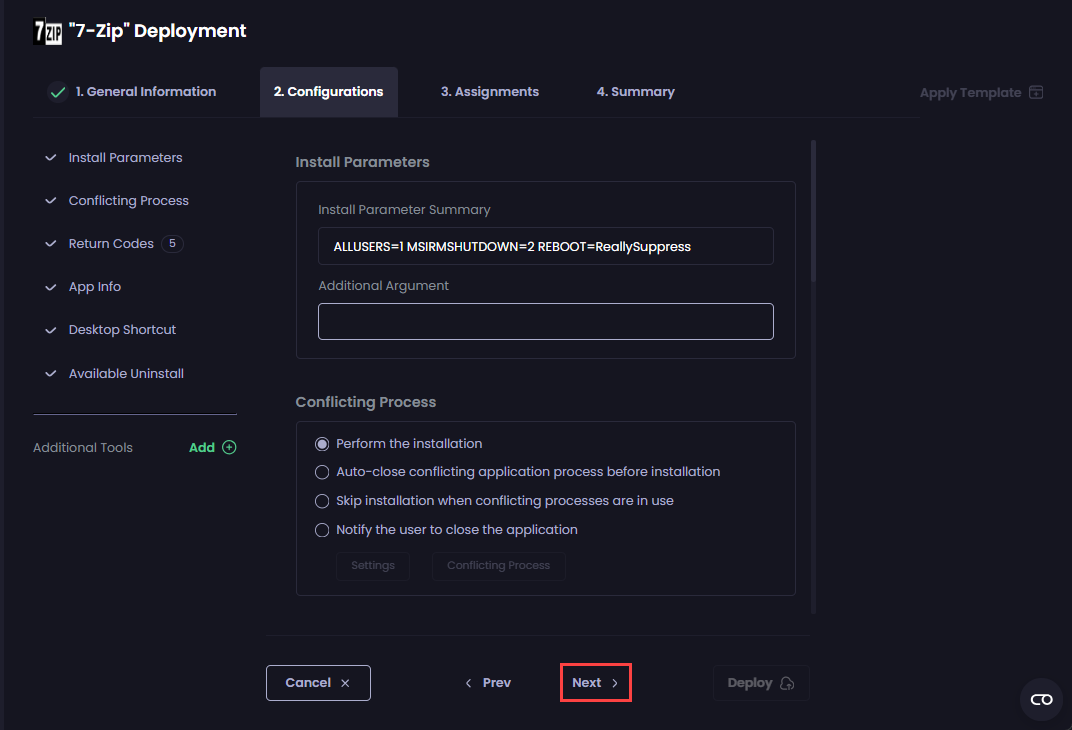
If you do not want to configure any additional settings, click **Next** to move to the [Assignments](/patch-my-pc-cloud/deployments/deploy-app/assignments-tab.md) tab.
Otherwise, navigate to the relevant tool to configure the required settings, which are explained in the relevant section.
---
# Agent Instructions
This documentation is published with GitBook. GitBook is the documentation platform designed so that both humans and AI agents can read, navigate, and reason over technical content effectively. Learn more at gitbook.com.
## Querying This Documentation
If you need additional information that is not directly available in this page, you can query the documentation by asking a question.
Perform an HTTP GET request on the following URL with the `ask` and `goal` query parameters:
```
GET https://docs.patchmypc.com/patch-my-pc-cloud/deployments/deploy-app/configurations-tab/standard-tools/return-codes.md?ask=&goal=
```
`ask` is the immediate question: it should be specific, self-contained, and written in natural language.
`goal` is what the user is ultimately trying to achieve, the reason they need the answer. Sharing it helps GitBook give you a better, more relevant answer. A goal is most helpful when it describes the outcome the user wants rather than restating the question. For example, with `ask=how do I create an API token`, a goal like `automate deployments from our CI pipeline` lets GitBook tailor the answer to that use case.
The response will contain a direct answer to the question and relevant excerpts and sources from the documentation.
Use this mechanism when the answer is not explicitly present in the current page, you need clarification or additional context, or you want to retrieve related documentation sections.


.png?alt=media)


.png?alt=media)
.png?alt=media)